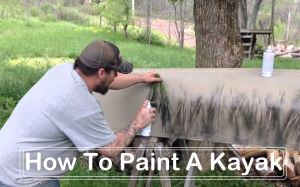
Most modern kayakers want to paint or repaint their kayak for a variety of reasons. Paint your kayak to hide scratches or to give it a fresh and unique look. You may also consider that the kayak needs a fresh look.
So, I’m here to tell you how to paint your kayak with your own hands and you’ll see that it’s not that hard. In addition, this tutorial will help you save money to improve the design and performance of your favorite kayak.
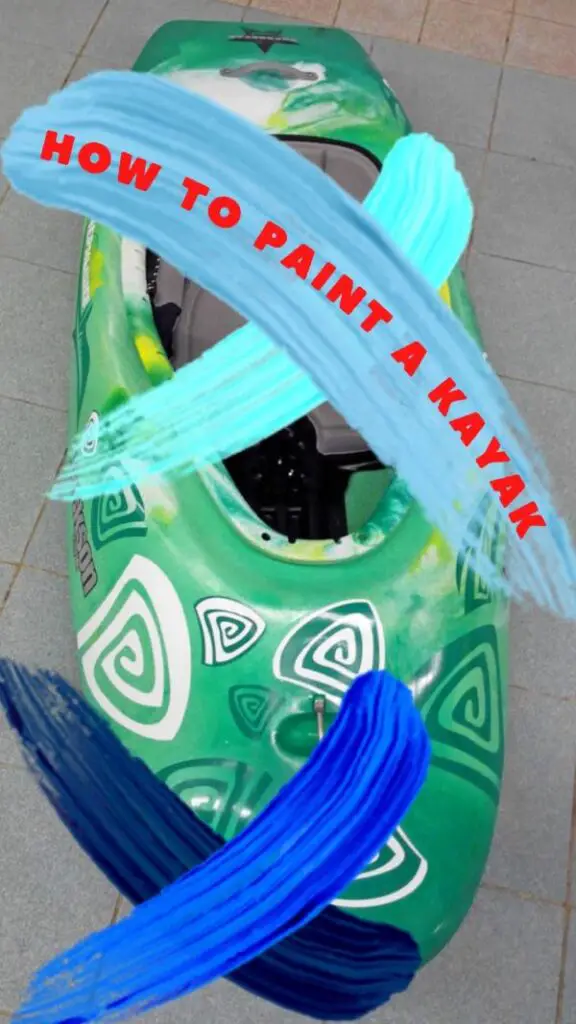
On this page, you will find information on how to paint a plastic kayak and how to paint a fiberglass kayak. Paint your own kayak under my guidance and you will be pleased with the result.
Table of Contents
Why is it necessary to paint a kayak?
Painting a kayak isn’t so much about improving aesthetics as it is about improving the boat’s performance. Even the smallest scratches are one of the main problems when we are kayaking on the water. More often than not, it hits objects, rocks, and branches in the water, resulting in various scratches. This can lead to negative consequences if we allow scratches to continually appear on the side of our kayak.
UV Fading and Damage
Direct sunlight exposure, specifically heat and UV radiation, could cause damage and fade to the original colors of your kayak similar to what happens to your car. New coats of the paint job, combined with UV-protectant spray will help restore the colors of your kayak.
Do not forget about preparing
Before painting, it is essential to be ready. There are many aspects you need to be aware of and remember prior to painting.
- There are a variety of sandpapers required for sanding the kayak. It is recommended to collect sandpapers that have a grit between 100 to 220.
- If you intend to paint fiberglass or plastic kayaks, prepare water-resistant and plastic-compatible paints.
- Beware that standard paints will not adhere to plastic.
- The paint for a fiberglass kayak must be suitable that isn't plastic.
- To paint, Marine safe spray paint for plastic, acetone finishing spray paint, or Marine wax painting masks are essential.
Painting a kayak is basically done in two ways
Using a paintbrush
Painting with a paintbrush is a time-consuming procedure. It also requires a lot of techniques. If you are new to painting, you should refrain from large kayaks. A smaller kayak is ideal for those just starting out. There are times when you feel that a brush is the best option. Brushes may be the best choice for those who want to add intricate patterns to their kayak.
Using spray paint
Spray painting seems easier than painting with a brush. You can cover a huge area of your kayak in a matter of minutes. Spray painting also ensures that you get an even coating. Spray painting is not for beginners. Learn from someone before you use a spray. Sprays have their downsides. One of the main ones is that it wastes a lot of paint since a lot of the paint from the cans gets into the air.
What type of paint do I apply to the plastic kayak?
The most important aspect of the success of a new paint job is choosing the appropriate kind of paint that’s water-resistant and sticks to the surface of the hull. It doesn’t matter if are using fiberglass, polyethylene, or a wooden kayak, as the paint is properly made for the specific material.
Oh, and another thing to mention:
To safeguard the color you can use a clear coating Krylon 1311 is a highly recommended alternative once you’ve completed painting.
Paintbrush vs Spray Paint: Which One to Use?
I prefer spray paint to paint kayaks since brush painting can become a lengthy and monotonous process.
It’s not an issue of experience spray paint is more efficient with regard to its speed. Additionally spray paint covers a larger amount of the kayak’s body in one stroke as opposed to coat by coat brush painting.
Another disadvantage of painting with brushes is that it exposes you to VOC (volatile organic compounds) which require a properly ventilated space and an appropriate mask.
It’s entirely your decision. You’re free to pick whatever you feel is most appealing to you.
How to paint a Kayak DIY Instructions
To make painting your kayak hassle-free, here is a complete set of tools and accessories that includes everything you’ll need before applying two coats of paint to your kayak:
- Aerosol paint (sea-safe)
- Sanding paper;
- Liquid soap;
- Running water;
- A piece of cotton cloth;
- Acetone;
- Sea wax or finishing spray paint;
- Protective mask or respirator.
Last update on 2024-04-17 / Affiliate links / Images from Amazon Product Advertising API
Step 1: Strip your kayak, taking off everything that comes off
The first step is to remove all components of the kayak that aren’t planning to paint a kayak, like seats (if you can make them removed) as well as any foot braces or accessories as well as rod holders, screws, and any other hardware.
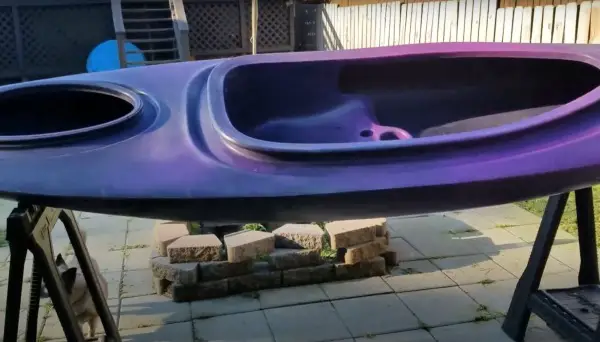
You shouldn’t paint anything else than the shell base.
Start painting your kayak in an open, large area with plenty of air circulation. Only one lung!
Be mindful of your surroundings. This is especially true when you spray paint. With a little wind, you could be painting all the things in the vicinity. This includes your neighbor’s belongings. A tarp that is adequate in size may not be enough.
Step 2: The hull must be cleaned and sanded
Then, clean your creation with dishwashing detergent along with a clean cloth and warm water. Make sure it’s clean and free from any residue or dirt. after which you can let it dry completely. Don’t make use of abrasive soap.
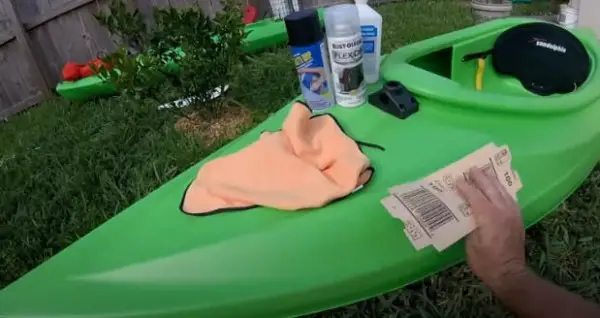
When your kayak is dry, get the fine-grit sandpaper you have then give the kayak sanding to smooth all surfaces.
This creates a stronger surface for the successful paint job to adhere to since it provides a rougher, more textured surface that will provide an even stronger bond. It is typically a process that is used to refurbish kayaks.
Step 3: Wipe thoroughly with acetone
Apply acetone to a cotton cloth so that you can see that it is wet. Carefully start wiping your entire kayak with it and then let it dry completely. I recommend that you do this with gloves and a mask to avoid various injuries
This procedure will help remove any oil on the surface of the hull that may prevent the paint from sticking and ruining your paint job.
Step 4: After drying It's time to paint!
The time has come to start the process of painting your marine surface by using the other things on the list of paints for kayaks.
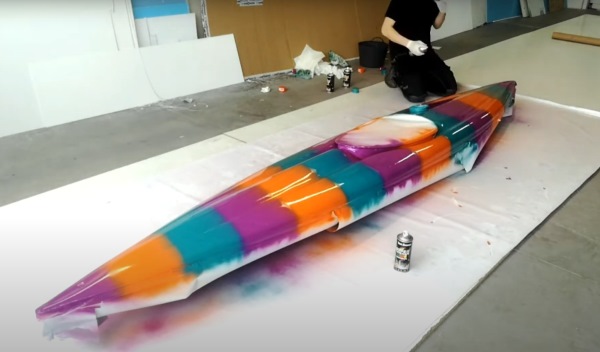
Paint evenly all over the entire kayak. Continue until you’ve reached the shade you’re looking for.
It is possible that you will need to apply a minimum of two coats before you achieve the exact color you’re after. Allow the paint basecoat to dry and cure completely before applying your kayak to another coat, or even more fresh coats.
If you’re interested in adding your own design to the paint, you can apply a brush once you’ve achieved your primary base color (and allow the new paint job to cure) to give your unique finishing touches. Stencils are also a possibility.
If you’re interested in adding an appearance of camouflage, the sponge that has been dipped in a distinct shade to the base color spray paint allows you to create an easy camouflage design for a customized paint job.
Step 5: Apply a clean coat of the paint of your choice!
As an alternative step to paint application, might decide to paint your kayak with an unmistakable coat of finish spray paint or UV protective spray to cover the surface you have painted.
It will provide an extra layer on the entire surface, protecting your brand new paintwork from scratching easily in addition to providing additional UV resistance.
You can, however, opt not to apply finishing paint.
Step 6: When the paint is dry, put your kayak back together
When the paint is dry, you can begin putting everything you took off back on your yak. This means you are able to place all the mounted accessories and screws back into the yak and also your seat.
Step 7: Final washing and waxing
You can use a bit more detergent for dishwashers and some water in your kayak and scrub it clean until it’s clear. To finish it off you can apply marine wax after your boat is dry.
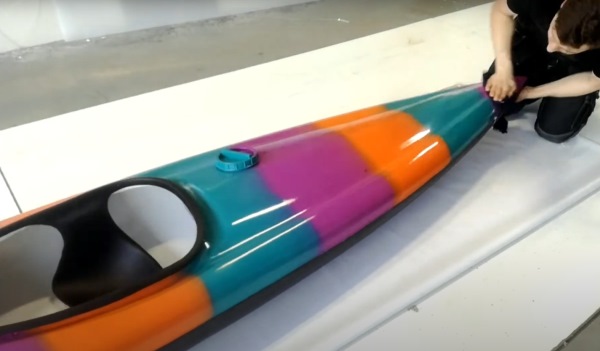
A clear coat of marine-grade paint wax gives the finish paint job and your beloved kayak protection against damage, and an elegant finish similar to the new kayak.
How to put a sticker on a kayak
If you decide to stand out from the crowd but don’t want to completely repaint your kayak, just add a creative sticker that you really like. Then the information on how to put an image on your kayak is for you.
Let’s go.
First, you need to sand the area where the decal will be applied with a fine-grit sandpaper. After that, you can clean the area with alcohol or cotton cloth dampened with acetone. This will create a roughened surface and remove any debris that may affect the adhesion of the decal.
As with spray paint, it is recommended that you apply alcohol or acetone to a cloth and then wipe down the areas you sanded in preparation for decal application to get rid of any residue.
This ensures that the area is clean and free of dirt or contaminants that may prevent the decal from sticking.
Next, use a hair dryer and heat the area you plan to stick the decal on. This will help your decal adhere better to the surface. Cover the area with a damp cloth.
If your kayak is still warm and hasn’t cooled down, spray it with water from a spray bottle. The kayak should not be submerged in water or see water droplets on the sides, as this will delay water evaporation. It should be dry. If you don’t have a spray bottle or wet rag, a wet rag will suffice.
To prevent air bubbles from forming, place the sticker in the right place. Start in the middle. Then you can move the air toward the edges for perfect adhesion.
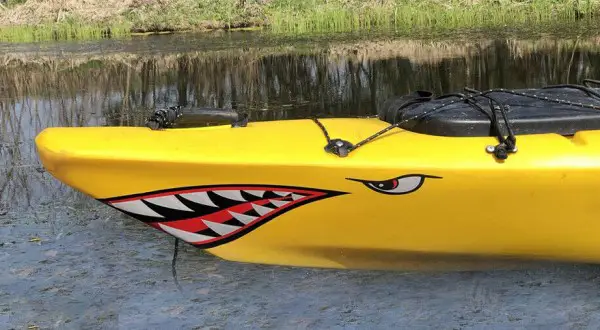
When your decal is positioned the way you’d like it to be, and all the bubbles are gone, you can gradually and gently remove the backing. It will peel off effortlessly, but be careful not to tear off the decal itself.
That’s it! You can go out on the water and enjoy the result!
Conclusion
After learning how to paint your kayak, I’m sure you’ve already given your boat a fresh look. This is a vital step that you should perform periodically to avoid wear and tear on your kayak. Of course, no one will deny that an attractively painted kayak can improve your mood. I also recommend giving your kayak a name. This article Ideas and Suggestions for Funny Kayak Names provides a small list of the most common and creative names.
If you have any suggestions or questions, please leave them in the comments section.
FAQ
How to paint a kayak made of fiberglass, what type of paint do you recommend I should use?
There are a variety of enhanced paints designed specifically for fiber glasses available on the market at present. Be sure to read the labels on paints to determine if they’re appropriate for your fiber glasses. Paint that adheres to the glass and gives it a shiny look is the one you want to choose.
Does it ever need to clean old paint prior to the application of new paints?
This is the best practice for those who want to get an extremely stable and durable painting job. The new coat of paint over the previous one will cause it to peel off quickly due to poor adhesion.
How can I create an ombre pattern while applying paint to my kayak?
For a camo design to create a camo pattern, use the paint applier, or sponge in a variety of paints, then place it on the kayak’s hull in a random manner to create the appearance of a camo.
Do you have any videos that you could recommend on painting kayaks?
Please see the hyperlinks to the bottom of this post to view the instructional video on the art of painting kayaks.
What can I do to prepare the surface of my material to allow the paint to stick?
t is possible to do this by roughening the surface with sandpaper since the paint job adheres strongly to surfaces that have been roughed.
Our best posts:

